Pour over coffee represents the pinnacle of manual brewing—a method that transforms simple coffee beans into an extraordinary sensory experience. Unlike automated machines, pour over brewing puts you in complete control of every variable, allowing you to extract the full potential of your beans.
This delicate dance between water temperature, grind size, and pouring technique might seem intimidating at first, but with practice and understanding, you'll be crafting café-quality coffee in your own kitchen.
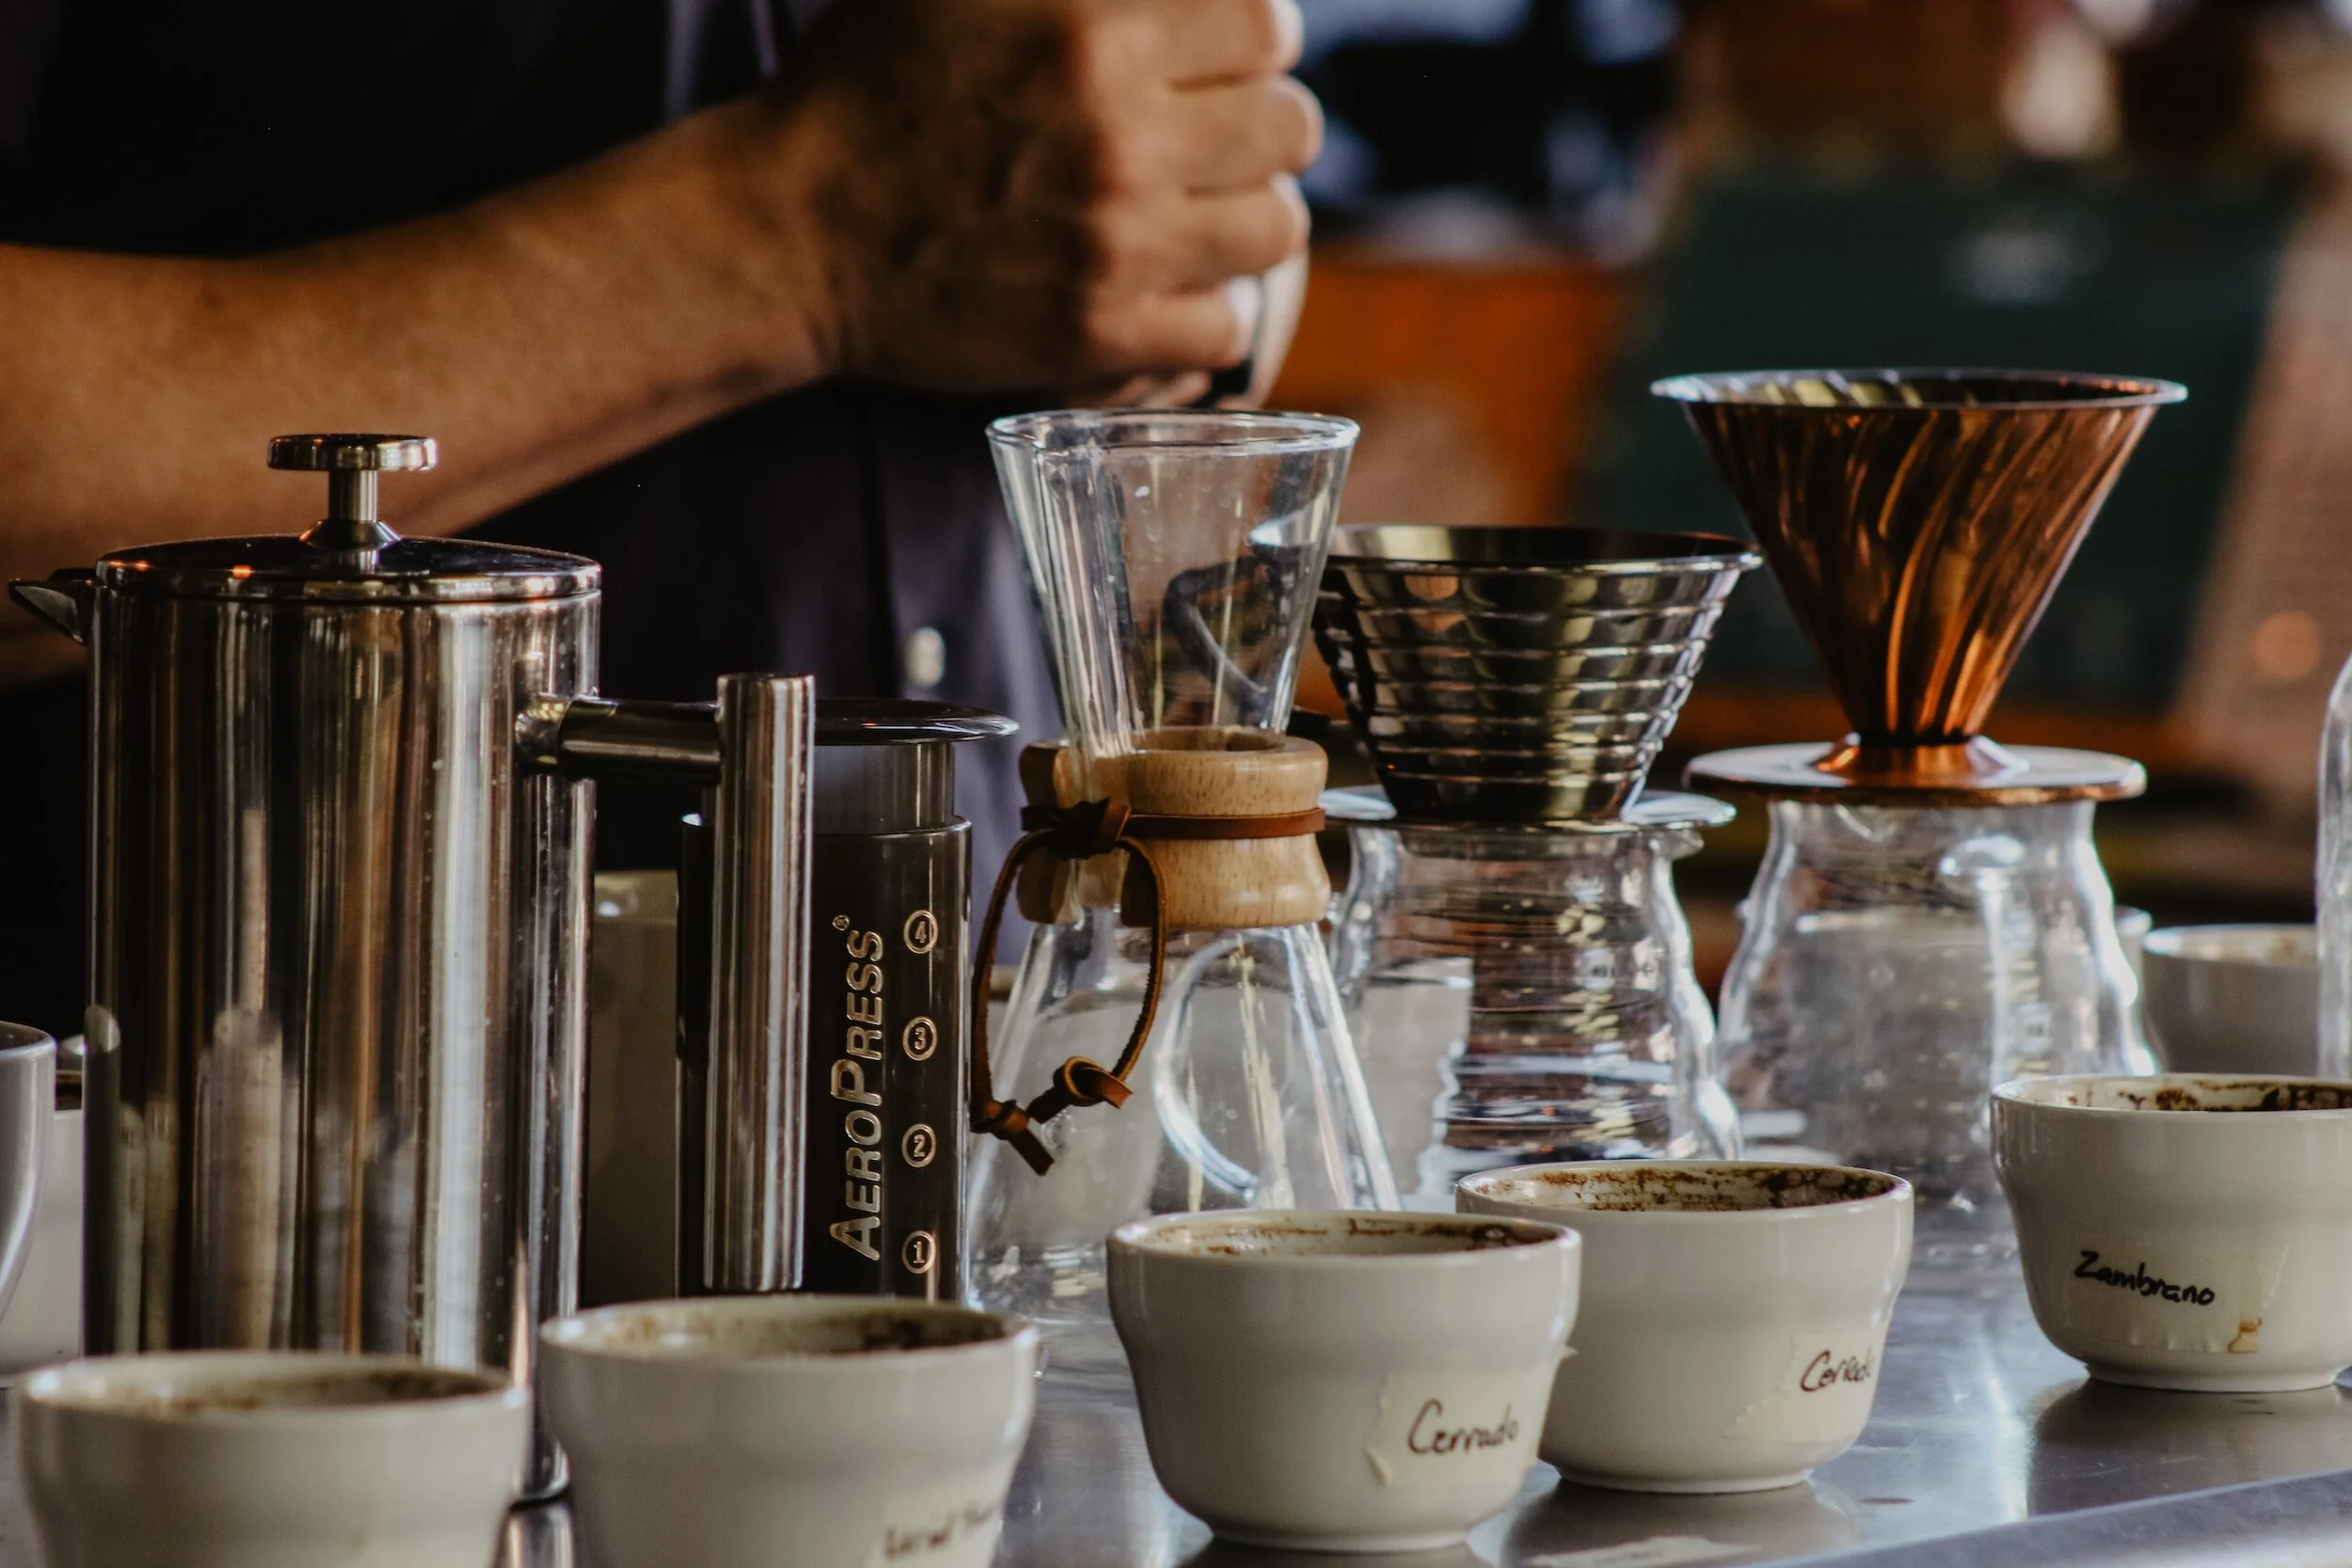
Essential Equipment
Before we dive into technique, let's ensure you have the right tools. Quality equipment makes the process smoother and results more consistent.
Pour Over Brewer
Hario V60, Chemex, or Kalita Wave
Gooseneck Kettle
For precise water control
Scale
Digital scale with 0.1g precision
Grinder
Burr grinder for consistent grounds
Filter Paper
Bleached or unbleached filters
Timer
Smartphone or dedicated timer
Pro Tip
Always pre-wet your filter paper with hot water before adding coffee grounds. This removes any paper taste and preheats your brewing vessel.
The Perfect Grind Size
Grind size is arguably the most critical variable in pour over brewing. It determines how quickly water passes through your coffee bed and how much flavor is extracted.
Finding Your Sweet Spot
Aim for a medium-fine grind, similar to coarse sand. If your brew finishes too quickly (under 2:30), your grind is too coarse. If it takes longer than 4:30, it's too fine.
Adjusting for Different Beans
Light roasts: Slightly finer grind to increase extraction
Dark roasts: Slightly coarser grind to prevent over-extraction
Dense beans: Finer grind to help water penetrate
Soft beans: Coarser grind to slow extraction
Water Temperature Matters
Water temperature dramatically affects extraction. Too hot, and you'll extract bitter compounds. Too cool, and you'll miss the sweet, complex flavors.
Ideal Temperature Range
For most specialty coffees, aim for 195°F to 205°F (90°C to 96°C). Light roasts benefit from the higher end of this range, while dark roasts prefer the lower end.
Temperature Control
If you don't have a temperature-controlled kettle, bring water to a boil and let it sit for 30 seconds before pouring. This will bring it to approximately 200°F.
The Step-by-Step Pour Over Process
Follow these steps carefully, and you'll be well on your way to pour over perfection.
Measure and Grind
Weigh 20g of coffee beans (for ~300ml final brew) and grind to medium-fine consistency. Place filter in brewer and pre-wet with hot water.
Bloom Phase
Add coffee grounds, create a small well in the center, and pour 40g of water evenly over the grounds. Wait 30-45 seconds for CO2 to escape.
First Main Pour
Slowly pour in concentric circles from center to edge until you reach 150g total water. Maintain a steady, controlled flow rate.
Second Main Pour
When water level drops to about 1cm above coffee bed, pour again to reach 250g total. Keep the pour gentle to avoid disturbing the bed.
Final Rinse
Add the remaining 50g of water, focusing on any dry spots. Total brew time should be between 2:30 and 3:30 minutes.
Serve and Enjoy
Remove the brewer, give your coffee a gentle swirl, and pour into your favorite mug. Taste and adjust your technique for next time.
Troubleshooting Common Issues
Even experienced baristas encounter challenges. Here's how to fix common pour over problems:
Bitter or Over-Extracted Coffee
- Grind is too fine - try a coarser setting
- Water temperature is too high - reduce by 2-3°F
- Brew time is too long - pour more quickly or use coarser grind
- Agitating the bed too much - pour more gently
Sour or Under-Extracted Coffee
- Grind is too coarse - try a finer setting
- Water temperature is too low - increase by 2-3°F
- Brew time is too short - pour more slowly or use finer grind
- Not enough water contact - ensure even saturation
Uneven Extraction
- Poor pouring technique - practice concentric circles
- Channeling - pre-wet more thoroughly and pour evenly
- Grind inconsistency - upgrade to a better grinder
- Brewer not level - ensure stable setup
Advanced Techniques for Perfection
Once you've mastered the basics, these advanced techniques will take your pour over to the next level.
Pulse Pouring vs. Continuous Pouring
Pulse pouring (multiple small pours) creates more agitation and can increase extraction for dense beans. Continuous pouring provides more consistent temperature and is easier for beginners.
Water Quality Considerations
Use filtered water with balanced mineral content. Water that's too soft won't extract well, while hard water can create off-flavors. Aim for 150ppm total dissolved solids.
Bean Freshness and Resting Period
Use coffee beans 5-14 days post-roast for optimal flavor. Very fresh beans (under 5 days) can produce excessive CO2 and uneven extraction.
Mastering Your Palate
Keep a brewing journal! Note your variables (grind size, water temp, brew time) and tasting notes. This is the fastest way to improve your technique and understand how changes affect flavor.
Final Thoughts
Pour over brewing is both a science and an art. While the technical aspects are important, don't forget to enjoy the process itself. The ritual of carefully pouring hot water over fresh grounds, watching the bloom, and smelling the evolving aromas is part of what makes this method so special.
Remember that even the world's best baristas are constantly learning and adjusting. Your perfect cup might be different from someone else's, and that's what makes coffee so wonderful. Experiment, take notes, and most importantly—enjoy every sip of your journey toward pour over mastery.